Monday, August 20, 2012

Chocolate Ice Cream

After the mango ice cream the other day, this is my second attempt with my newly purchased ice cream maker.  The mango ice cream turned from yellow to brownish color after a day and some mummies commented that the color changed is due to oxidation of the mangoes.  In order to not have the same episode again, I have decided to try my hand in making chocolate ice cream instead.

The chocolate ice cream recipe that came with the ice cream maker looked easy and I have made some changes to the recipe myself.  Below is the recipe with changes that I have made :


Ingredients :

3/4 cup   cocoa powder, sifted
1/3 cup   granulated sugar
1/4 cup   brown sugar
1 pinch of salt
1 cup      low fat milk
2 cups    thickened cream
1/2 tbsp  vanilla essence

Method :

1) Whisk together cocoa, sugars and salt.  Add the milk and beat to combine till the cocoa, sugars and salt are dissolved.
2) Stir in thickened cream and vanilla essence.  Cover and refrigerate for at least 2 hours.
3) Churn the mixture with the ice cream maker* for 25 minutes.

Note * :  The freezer container of the ice cream maker should be placed in the freezer beforehand and the liquid contained within should be frozen


Cocoa mixture before cooling in fridge


Churning in process


Churning completed


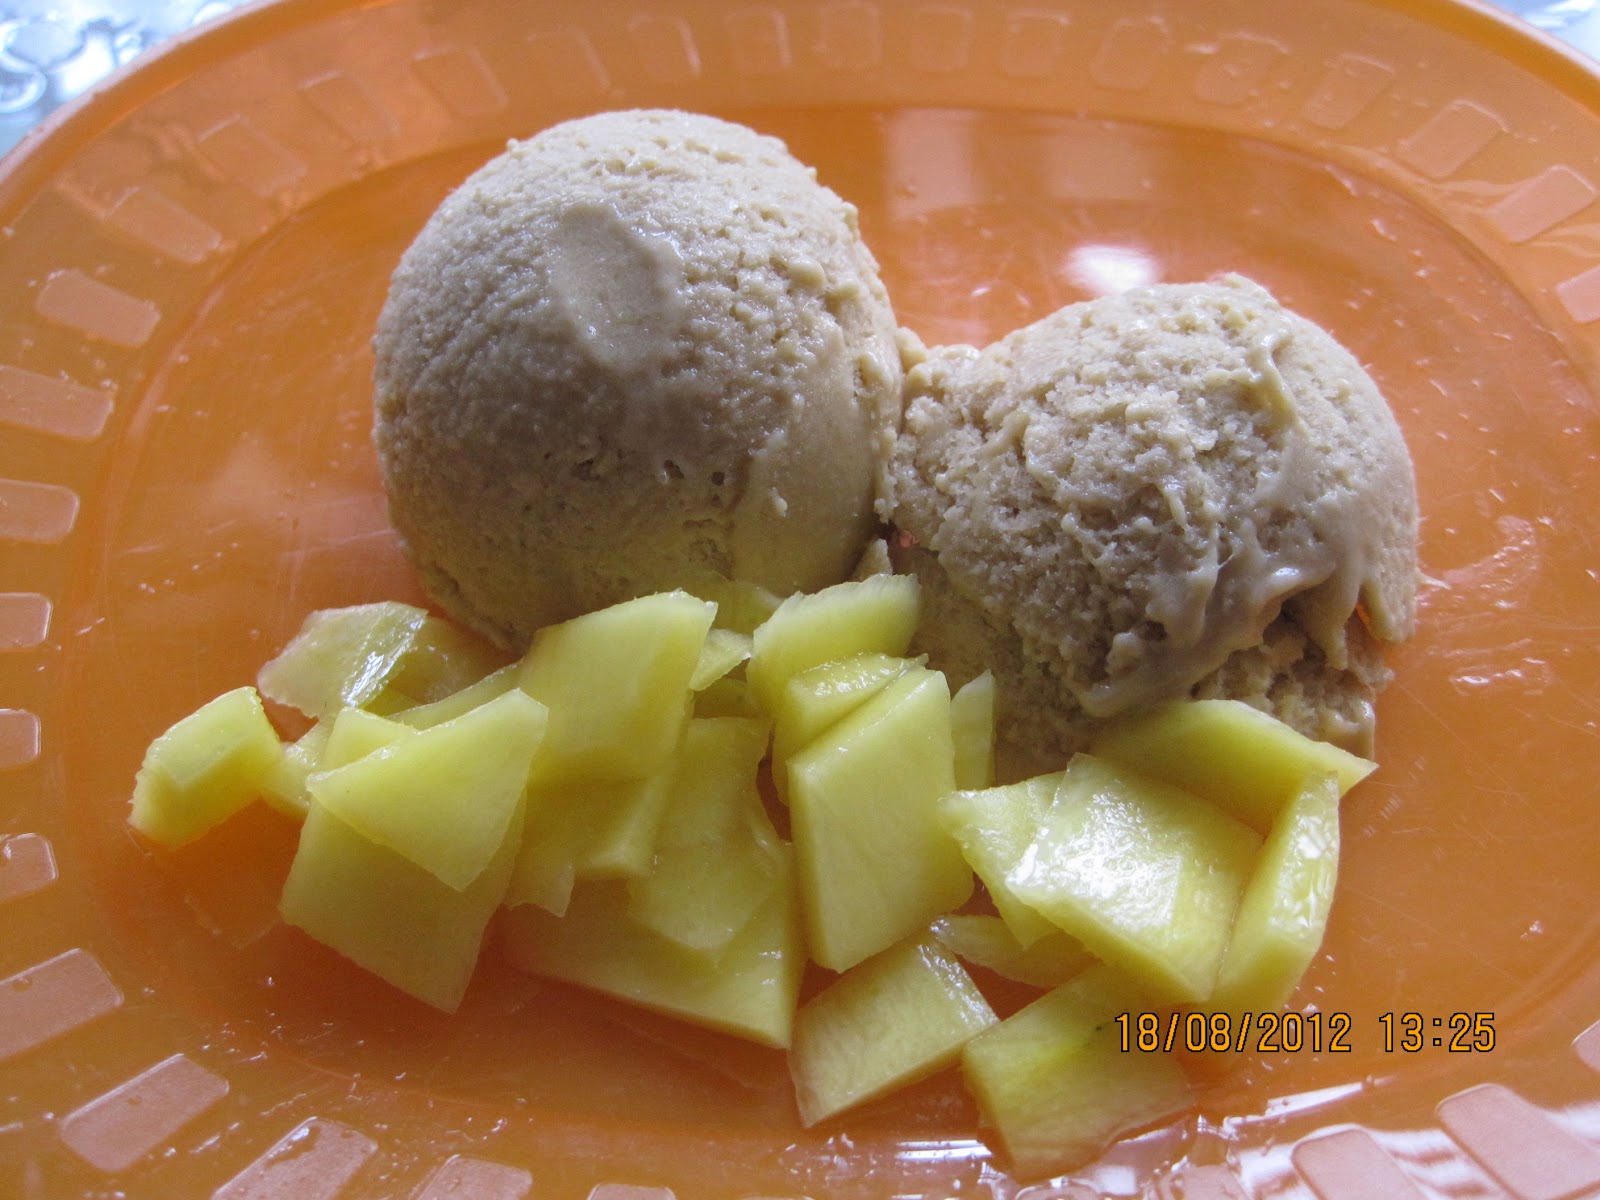
Chocolate ice cream served with bananas


The changes in the recipe include reduced sugar and changing from the use of whole milk to low fat milk.   I feel that the new recipe is healthier and less sinful.

The resultant ice cream is, I would say, heavenly!  Not too sweet and full of the aroma of the cocoa.  It tasted even better when served with bananas.   I can say that this is an ice cream that I will make over and over again. 

Friday, August 17, 2012

Mango Ice Cream

Received the ice cream maker that I purchased from Groupon two days ago.  The ice cream maker is much smaller than I expected but I guess that will do for now.  Not that I am going to make ice cream in bulk anyway.  The ice cream maker comes with a few simple recipes.  The one that caught my eyes is the mango ice cream and it is stated that this recipe is highly recommended.  So off I went to look for the ingredients.

Ingredients (with adaptation)  :

200g   Mango
100g   Milk
80g     Thickened cream
2 pcs  Egg yolk
10g     Sugar


Method :

1) Put all ingredients into the blender and process till smooth.
2) Pour into the freezer container of the ice cream maker and allow churning and freezing (about 30 minutes)


The original recipe uses double cream but I couldn't find it anywhere thus I substituted it with thickened cream.  It also calls for the 3 egg yolks.   I read from the internet that French style ice cream uses egg yolks but it is not use in other styles.  The egg yolk contains lecithin, which is an emulsifier and functions in combining the water and fats together, making the ice cream more creamy and smooth.  Personally I feel a bit eerie to consume raw eggs and felt like omitting it.  But then since this is the first time I am making ice cream, I thought it would be best to follow the recipe so that I can improve from there in the future.


The freezer container has to be put in freezer for a minimum of 6 hours, or till the liquid within is completely frozen.  Churning process took about 30minutes.  While the resultant ice cream is not as creamy and smooth as those commercial ones but I like the idea that I know what I have put in it and I can also control how much sugar it contains.  Will try to make frozen yogurt next.


Sunday, August 12, 2012

Checkered Blouse

Came across a pretty checkered blouse at Jusco the other day.  I imagine the girls will look pretty in it.  Unfortunately, the biggest size is for 2- 3 years old.  Nevertheless, I bought it in the hope that at least Xin Xin will be able to fit in as I like the blouse a lot.  However, true enough, the blouse is too small.  So what is a mummy to do?  Sew one of course!

Bought a piece of checkered fabric from Kamdar, Mid Valley.  They have a few selections of checkered fabric.  Will definitely get another blue one for Ray if this blouse turns out fine.

The pattern was cut based  on one of the blouse my sister gave the girls some time ago.  The blouse was done in one hot afternoon where I had to kept having intervals to fill my mug with iced sugar cane drink. 

I would say the blouse turns out fine and I am pleased with it.  Looks like Ray will have his shirt done soon too.


Wednesday, August 8, 2012

Child Yukata - A Tutorial (Part 1)

This is Part 1 of the tutorial or step by step guide in sewing a child yukata. This part features the sewing of the yukata top.  Sewing of the pants will be featured in Part 2.It should be noted however, that this sewing method does not reflect the original style of the Japanese yukata.  


The pattern below is suitable for 6 - 9 months old baby.  The pattern can be scaled up or scaled down according to your child's size.


Steps :

1) Cut out the pieces based on the pattern.  Remember to cut the body piece based on left or right side.  It would be easier to first fold the cloth into 2 and cut the pattern accordingly.  This way, you won't have to cut the left or right side of the body piece separately.  (A = body piece, B = sleeve, C = collar, D = tie string)


2) Fold the body piece so that C and C' are exactly underneath D and D'.  Sew from D to D'.  Repeat with the other body piece.


The sewn shoulder


3) Assemble both body pieces so that the right side of the fabric is facing each other.  Sew from A/A' to B/B'.

4) With the right side of body piece facing up, arrange the sleeve so that the distance from E - F is the same with G-H.  It should be noted that the wrong side of the sleeve should be facing up at this point.


Assembled sleeves


5) Sew from F to G.

6) Turn the body piece inside out and fold it lengthwise so that the end of the body piece is touching each other.  It should be the same for the sleeve.  The wrong side of the fabric should now be facing out.

7) Sew I to J and from J to K.

8) Repeat steps 4 to 7 at the other side.


9)  With the right side of the fabric facing out, fold L to M in and sew in place.  Repeat with the other side.

10) Fold the collar piece as you would do for a bias tape.

11) Place the 'bias collar' at point N and sew along to the other side.


Sewing the collar


12) Insert a piece of tie string* at the open end of the collar piece.  Sew in place and to close the open end collar piece.  Repeat at the other side.

13) Rip apart the seam at 3 -5 cm underneat the sleeve of the right side of the body piece.  The hole should be just enough to insert a tie string through.  Pin in place. 

14) Turning the body piece inside out, sew to close up the hole.  This will also sew the tie string in place.  It should be noted that you should overlap some of the original stitching so that it will not open up in later days as it is an open end since you have ripped the seams apart earlier.

15)  Place a tie string at the open seam of the body piece, 3 - 5 cm underneath the left sleeve.  Sew to hold it in place.

16) Fold up 1cm at the end of the body piece and sew the hem.


Note :  The tie string should be at the outside of the garment in Step 14 whereas it should be inside the garment in Step 15.  The tie string is sewn with the same method as the collar. 


Showing the locations of the tie strings


The top of the child yukata is now done!

Always remember that the yukata is worn with the left side over the right side!


Tuesday, August 7, 2012

Girls' Third Birthday

Finally, the big day is about to arrive!   For a mother, little one's birthday is always something to fuss about.  What cake should I get?  What theme should the celebration be?  Is it going to be a small celebration or a big one?  What present(s) should I prepare?  I for one, am not someone who is keen to hold big celebration.  For now, I'll just settle with a nice cake.  Having said that, imagine my shock when I was quoted hundreds of ringgit for a simple cake decorated with fondant.  Am I to spend so much for a cake that is going to end up in the tummy?  No way!

I am very particular about having cakes decorated with fondant and only fondant as I received 'complaints' from the girls' kindy about the cupcakes I made for their tea party few months earlier.  The kids made a huge mess with the buttercream and I can imagine the staff at the kindy is going to hate me for life if I were to present a buttercream cake again.  With the failed cake hunting mission, I finally decided to bake and decorate the cakes myself.  There are going to be two cakes, one for the celebration at home and one for the kindergarten.

A novice or I would say a first timer in cakes decorating, I really had no idea on what I got myself into.  A long weekend following the Nuzul Al Quran holiday came as a blessing and I spent them baking and 'researching' on fondant cakes decorating.  Watched many videos over youtube on tips and techniques in fondant figurines making.  Speaking of which, isn't it a blessing to have youtube these days?

The girls and I busied ourselves at the kitchen for two consecutive days.  The girls busied with their pretend play with my leftover fondant while I was all stressed up to do the best I could.  So, ta da... the results :


They are far from perfect but they are perfect in my girls' eyes and that is the most important isn't it?