Promised some mummies to post a tutorial on how to sew the 2 in 1 (toy + blanket) Hobbes. Took me quite a while to complete this as I have been bitten by the lazy bug lately. Anyway, here it is. Happy sewing!
Materials :
Orange fleece (1.5m)
Black fleece (0.5m)
White cotton ( 0.5m)
Pink fleece (0.2m)
Polyfiber
9 inches zip
2 buttons
Patterns :
(Sorry for the blur image. Will post a better one later)
Steps :
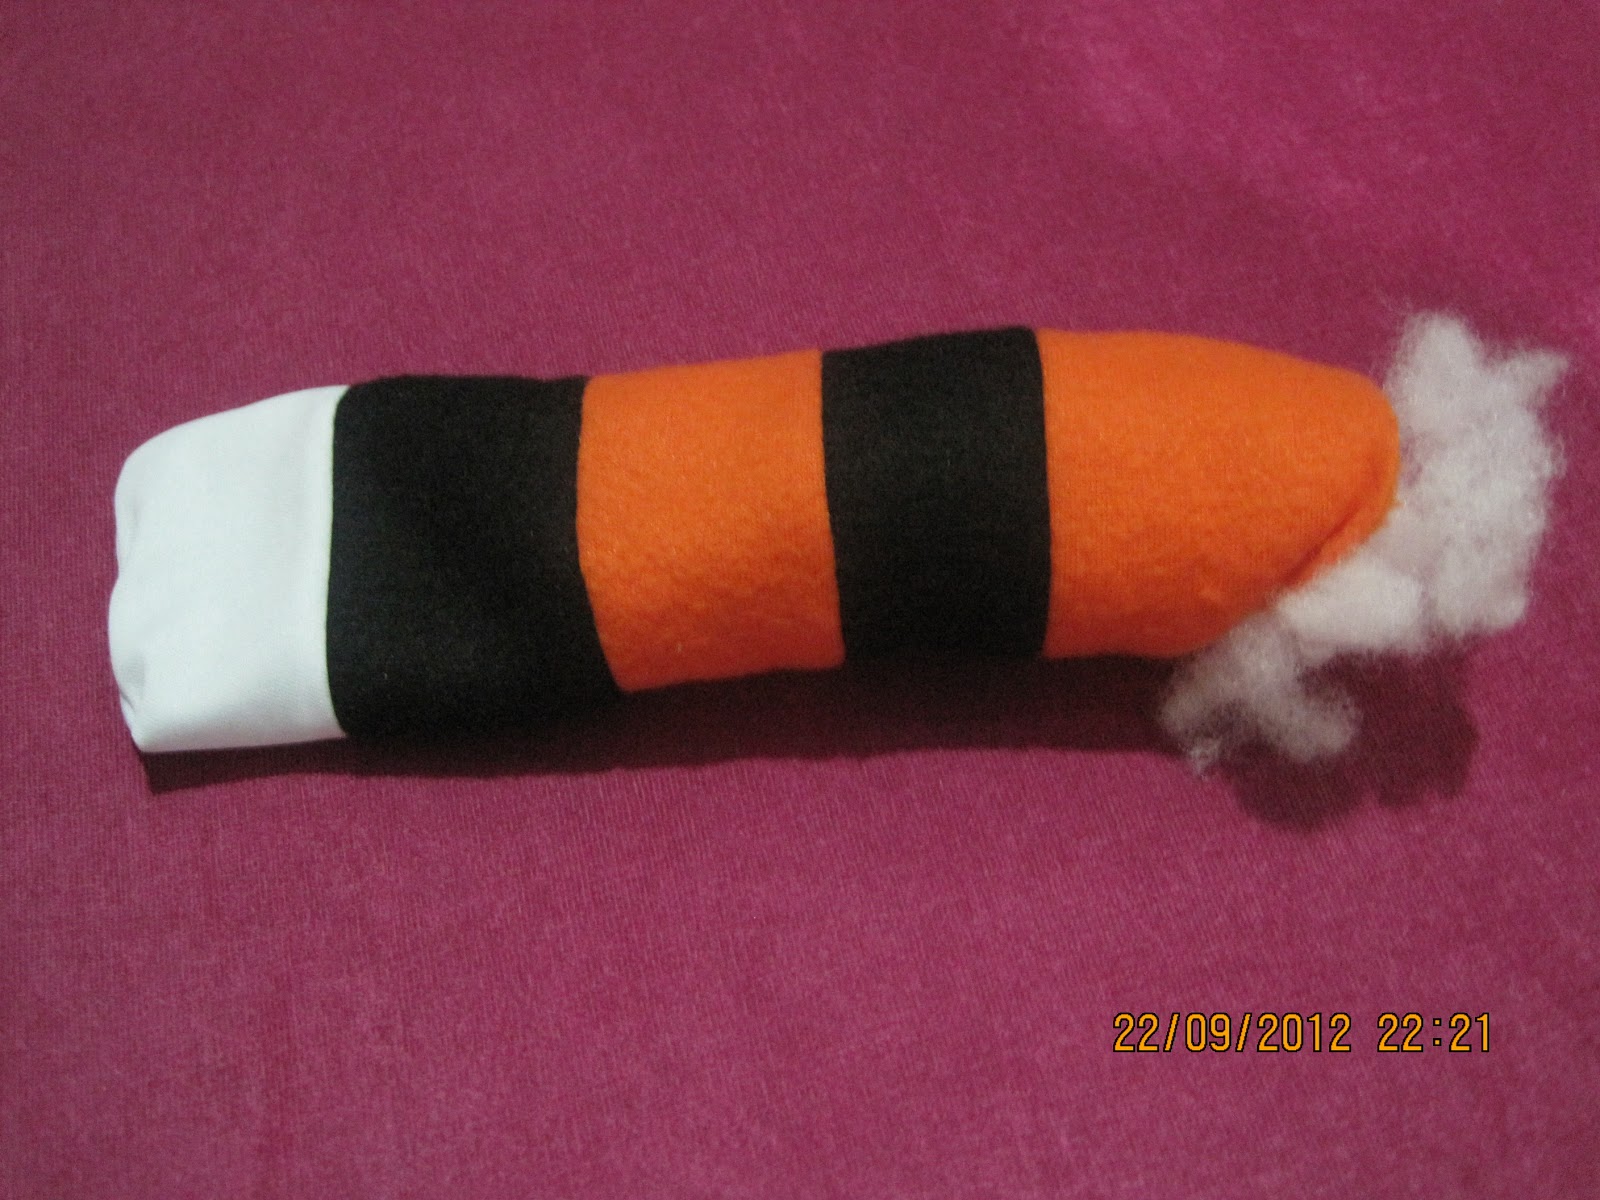
Limbs
1) Place a piece of white cotton and a black strip with the right sides together. Sew one of the edge. Open up and lay flat so that the right side of the cloth is facing up.
2) Place a piece of orange strip on the black strip of (1) with the right sides together. Sew along the edge. Repeat with alternate orange and black strips till there are altogether 2 orange stripes and 2 black stripes.
3) Fold the piece of cloth obtained in step (2) to half lengthwise with the right side together. Sew along the open edge with the exception of the end of the orange stripe. (Note : Sew the corner of the white slightly rounded)
4) Turn (3) inside out. Insert some polyfiber into it and leave aside.
5) Repeat steps 1 - 4 for the remaining 3 limbs.
Tail
1) Repeat step 1 - 3 of the limbs for the tail with the exception to use only black and orange strips. There should be 3 black stripes and 3 orange stripes now. Polyfiber is not needed for the tail.
Body
1) Arrange and pin the black stripes in place on the front body piece as shown in picture.
2) Attach the G foot to the sewing machine and select stitch no. 10 (for Brother NV50). Sew all the black stripes in place with black thread.
3) Arrange and pin the white cotton for tummy in place on the front body piece. Sew using the same stitch with white thread.
4) Repeat step no. (2) for the back body pieces, be careful to arrange the black stripes so that they form a continuous stripe with the front body piece.
5) Lay the front body piece flat with the right side facing up. Arrange the limbs on top. Then with the right side of the cloth facing down, place the back body pieces on them and pin in place.
6) Sew along the 2 sides of the body (with the limbs attached) with straight stitch. (You may want to reinforce the stitches at the limbs by sewing forth and back a few times).
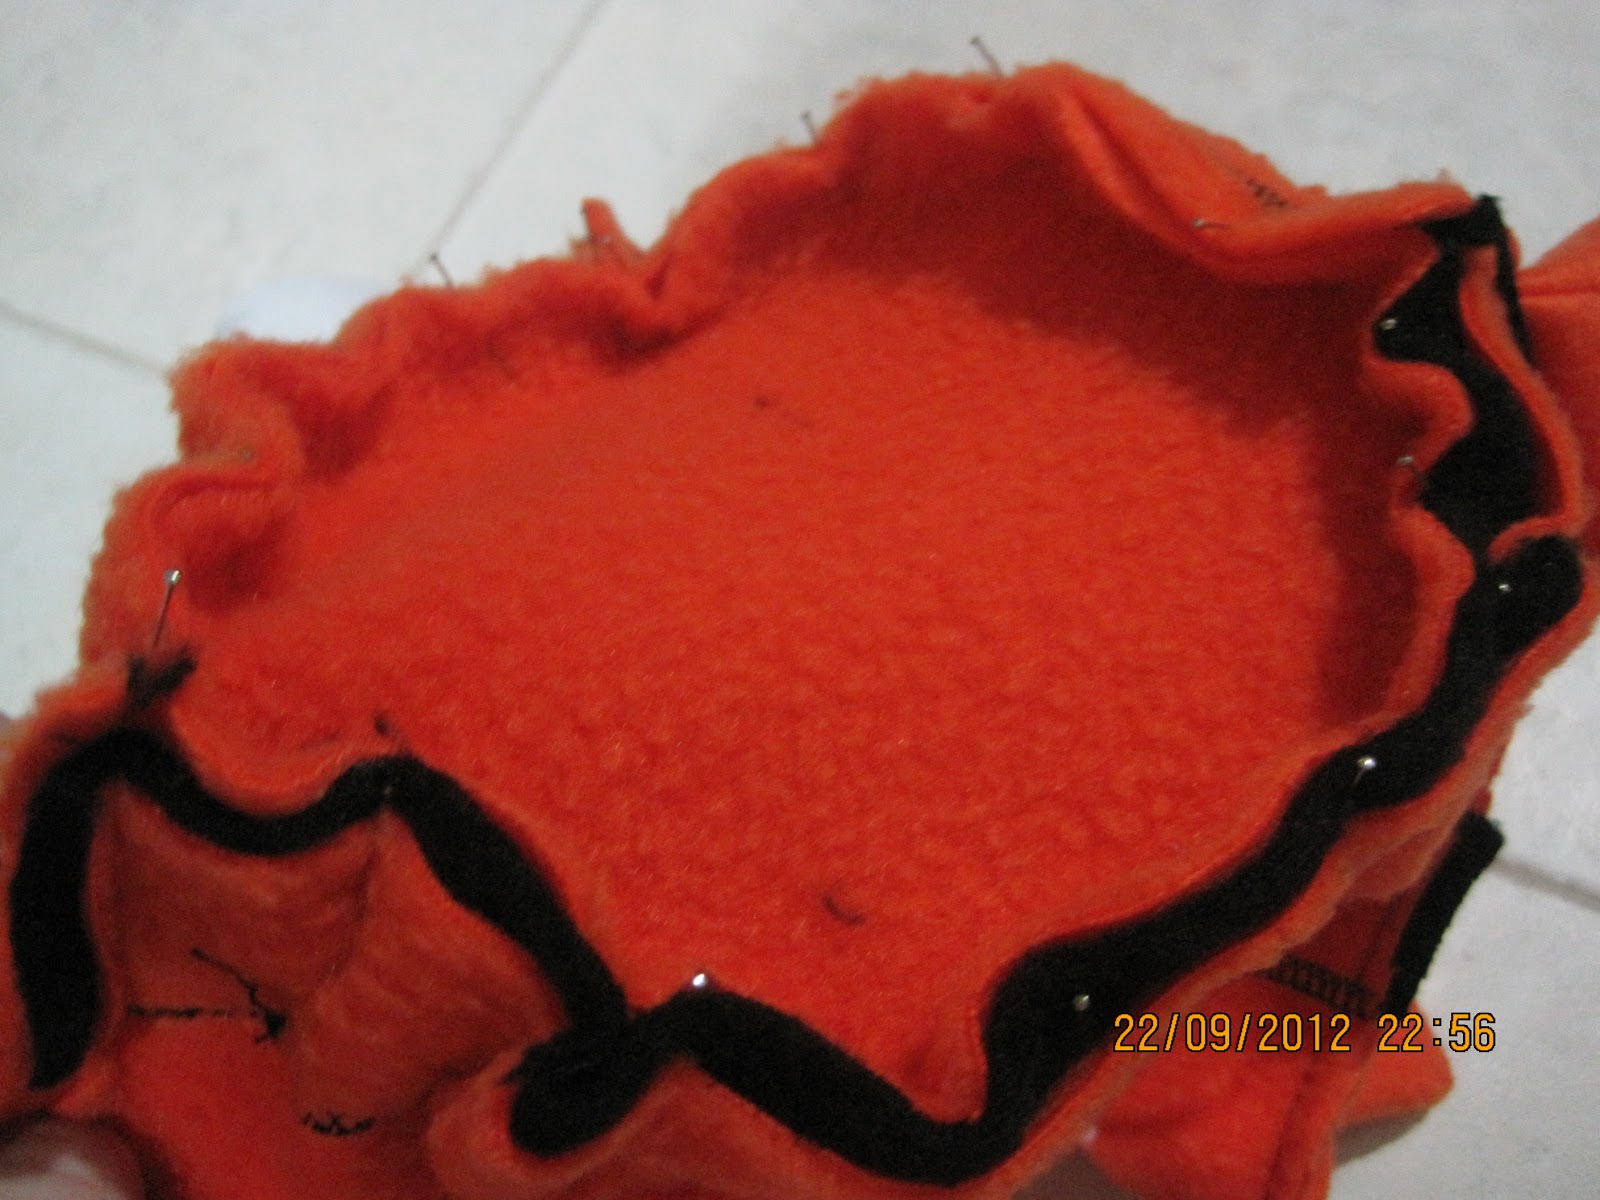
7) With the body wrong side out, pin the oval orange fleece to the bottom. Sew in place.
Ears
1) Place 2 pieces of black fleece together with right sides facing each other. Sew along the perimeter (slightly rounded at the corners) with the exception of the lower side.
2) Turn the ear piece inside out.
3) Fold one end of the ear piece into half and sew a few stitches to hold the shape.
4) Repeat steps 1 - 3 for the other ear piece.
Head
1) Sew the open ends of the muzzle piece together as shown in picture.
2) Sew the open ends of the head pieces together.
3) With the right side facing up, pin the muzzle onto the lower centre of one of the head piece while inserting the gap in between with polyfiber to make the muzzle fluffy. Sew in place with stitch no. 10 once you are happy with the shape and position of the muzzle.
4) With the right sides facing each other, stack the 2 head pieces together and sew along the perimeter.
(Note : You may arrange the ears in place and sew them together with the head piece. I prefer to sew the head pieces together and the open a little of the seams later to insert the ears as this allows me to get a better picture on the position of the ears)
5) Hand sew the eyes, nose and mouth as well as the stripes at the head (2 stripes each at the top, left and right).
Assembling all the Pieces
1) Turn the body piece inside out so that the wrong side is facing out.
2) Place the head down into the hollow of the body. Pin the head and the body together to form a neck. Sew in place with straight stitch.
 |
| Head in the hollow of the body |
3) Turning the body out, the doll is now almost completed.
4) Fill the head with polyfiber through the opening at the neck. Close the opening by sewing a piece of oval orange fleece onto it.
5) Attach the tail to the rear of the doll and sew in place. (Be careful to sew at the inside of the body so as not to let the stitches show at the outside).
6) Attach a zipper foot to the sewing machine and sew the zip in place at the back of the body.
7) Sew a button each at the top and end of the zip.
8) Sew buttonholes at the side of a piece of 1m orange fleece to coincide with the 2 buttons at the back of Hobbes and rip the holes with a seam ripper.
(Note : Button hole no. 45 for Brother NV50).
9) Tie the pink fleece to the neck as a scarf.
The toy + blanket Hobbes is now done!
The 1m orange fleece serves as the stuffing and taken out when needed to be used as blanket. When used as blanket, attach the buttons at the back of Hobbes to the buttonholes at the blanket. This will hold the doll in place and will prevent it from being lost or misplaced.