Tuesday, April 15, 2014

Play Sand

There is a lot of hoo hah about the kinetic sand lately and thus I googled for the video.  It does look impressive.  What is even more impressive is the price.  So instead of spending so much money to buy the sand, which I am sure my little boy would have scatter them around and lost them all in no time, I searched for some methods to make something similar to that.

So here it is :


5 cups           play sand
2 1/2 cups     flour
1 1/4 cup       vegetable oil


First, mix the sand and flour till well combined.  Gradually add in the vegetable oil while mixing.  The sand should be able to hold the shapes well but does not feel oily. 


It was fun to play with the sand.  My girls like it very much and spend a long time playing.  The sand does not stick to the hands and even if it did, it can be brushed off easily.  But then it is of course not as good and clean as the original kinetic sand so best to bring it outdoor.


Sand doesn't stick to hand


Friday, April 11, 2014

DIY Queen Elsa's Coronation Dress

When we were watching the movie 'Frozen' together, my brother in law casually said that it wouldn't be long before I come out with all the costumes in the movie.  I told him that it is impossible.  The dresses are too complicated and have too many details that I couldn't reproduce.  However, as time goes by, I thought, 'why not?'  It has since, become my challenge.  

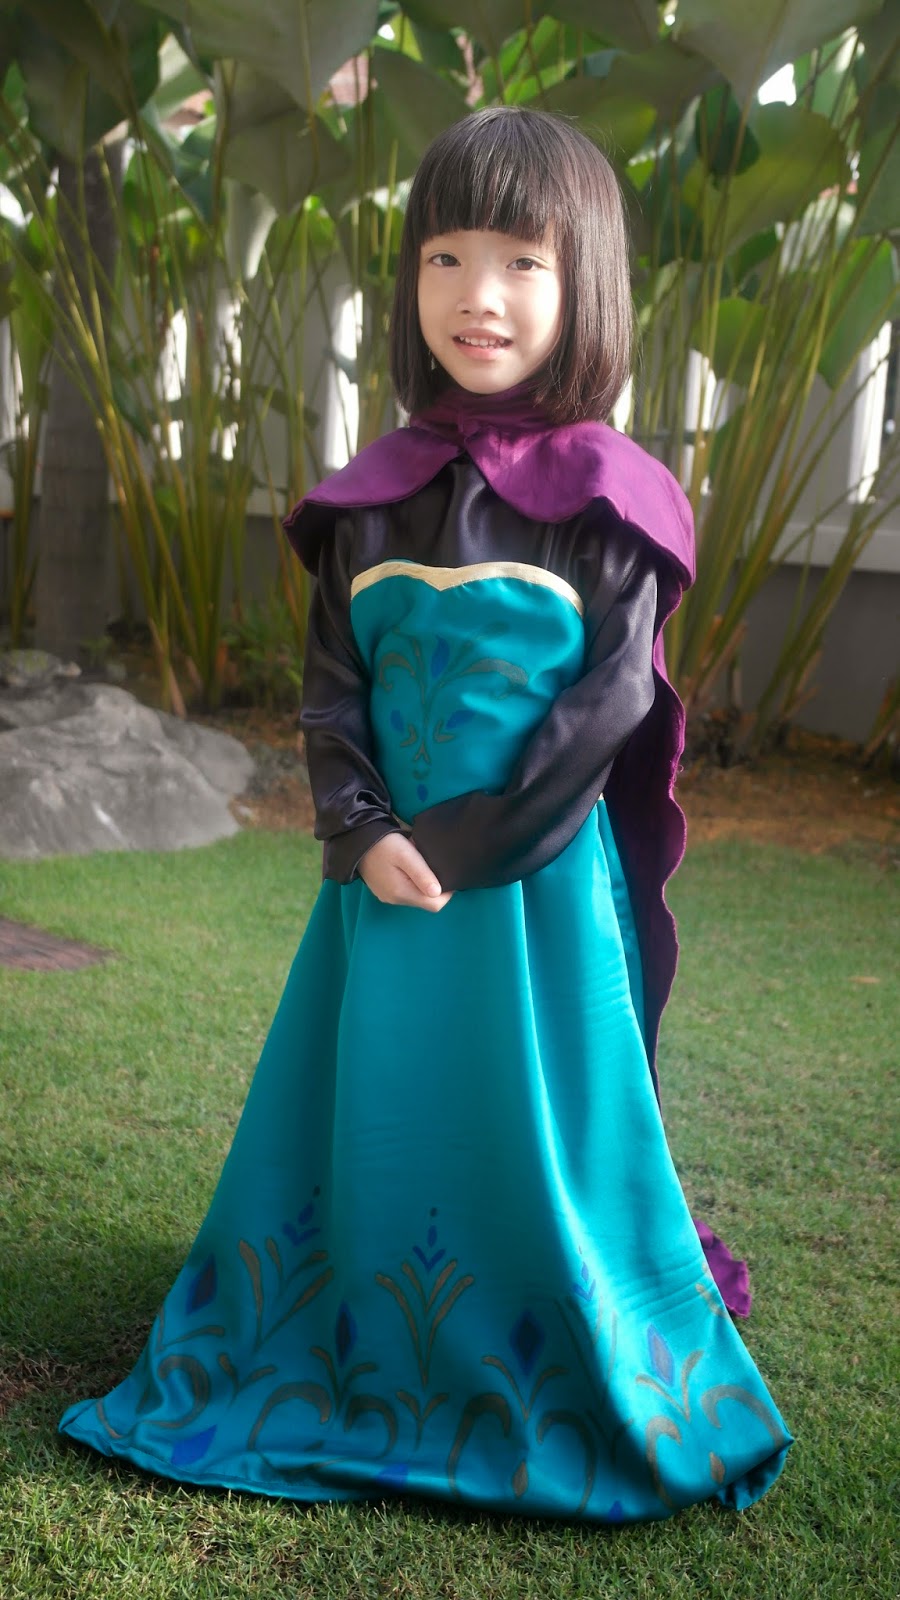
So far, I have sewn the Elsa's blue dress as well as the folk dress that Anna wore in the latter part of the movie.   And now, I am proud to present the dress that Queen Elsa wore at her coronation.  Elsa looked regal in the dress, which came complete with a cape.  The details at the bodice and the hem of the dress made it a classy piece.


Doesn't my girl look as regal a queen as Elsa? 


Details at the hem


Saturday, March 29, 2014

DIY Princess Anna's Costume

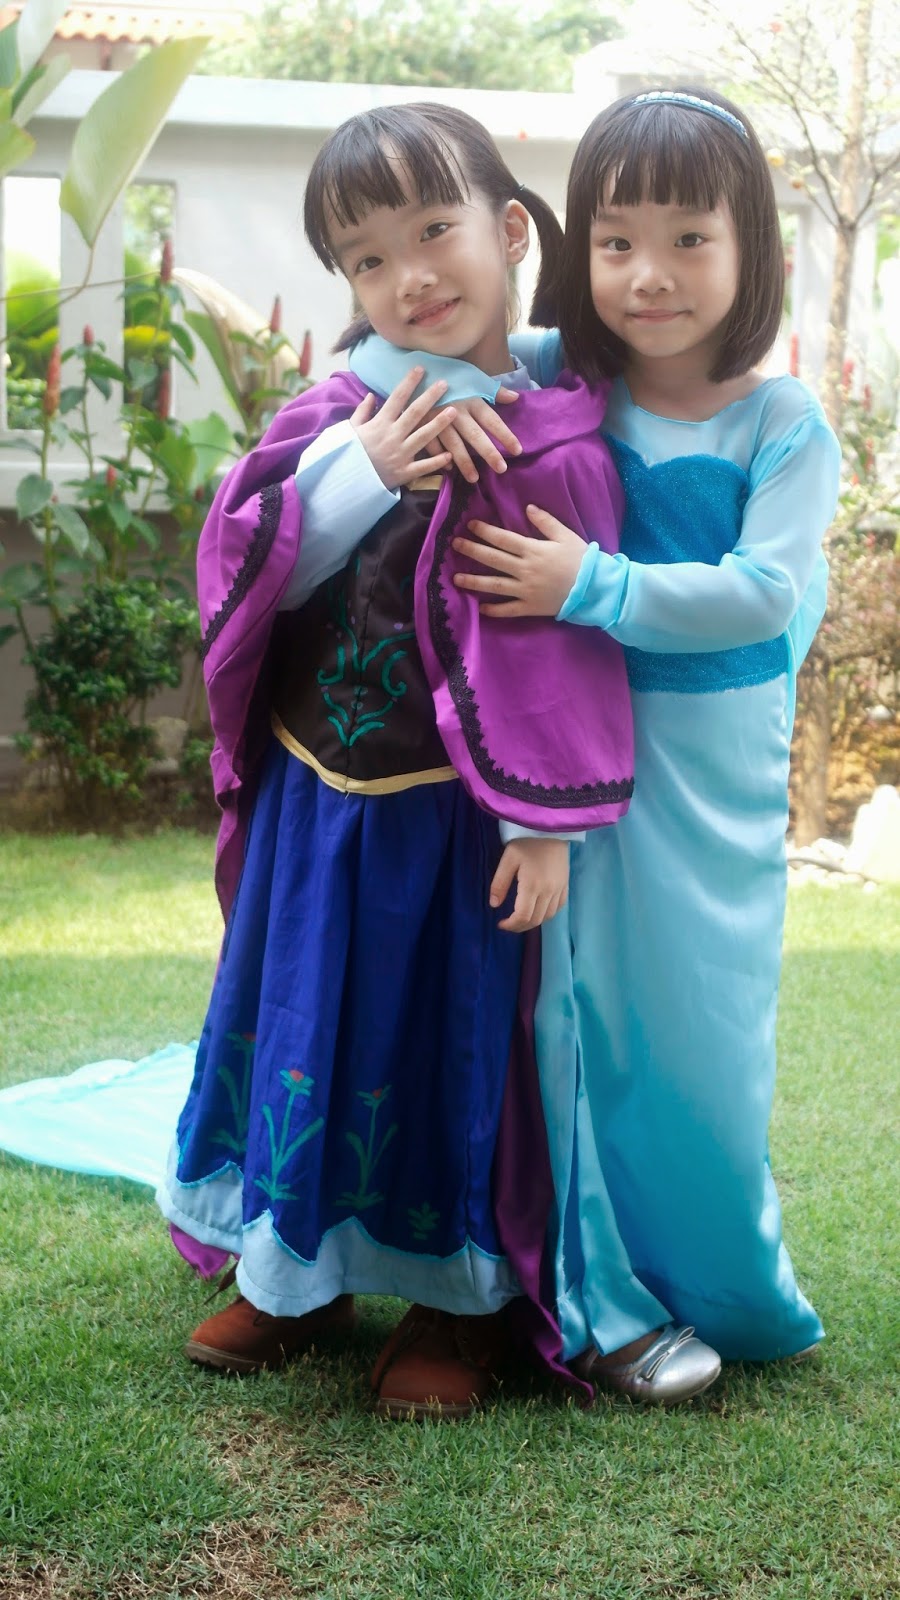
The Queen Elsa's costume that I sewn earlier was a hit with my girls.  Both wanted to wear it, all the time.  So, instead of two Elsa's, I was thinking, why not sew an Anna's costume?  Then both the girls can play older and younger sisters, just like Elsa and Anna.

The Anna's costume comprises of a skirt, long sleeve blouse, vest and also a cape.  The costume looks simple. However, on closer scrutiny, it has lots of details : the  light blue wave-like pattern at the hem of the skirt, complete with the motif of the flowers. Similar motifs can be found at the vest as well.  Then there is the darker shade pattern and dangling 'balls' at the cape.  I couldn't find those dangling balls anywhere and decided to omit it.   Will add them back in if I manage to get hold of some. 


Slaved over the costume for a few nights.  Finally, it is done!  The look at the faces of the girls were priceless.  Both went 'Let it go.... Let it go....' and 'Do you want to build a snowman....' repeatedly like a broken record.  Not that I mind though  :)


Tuesday, March 18, 2014

Homemade Bubbles Solution

My kids love to play bubbles a lot.  Come to think of it, I think all children love it.  Sometimes I will buy commercial bubbles solution for them but then, why buy when we can make it ourselves?

Making homemade bubbles solution is very easy.  You just need :


500mL   water
70mL     dish washing liquid
2tbsp      glycerine


Glycerine can be obtained from baking supply stores.  I got mine at RM1.80 for a bottle of ~10 tbsp.  The function of the glycerine is to bind the soapy solution together and to hold the bubbles so that they do not burst easily.  Not all dish washing liquid needs the addition of glycerine for bubbles solution making.  However, if you have omitted the glycerine and found that you cannot get any bubbles out of your solution or the bubble burst before it is fully formed, then you know that glycerine is needed.
 
 
Mix all the above ingredients together and there you have it, the bubbles solution that will make your kids shriek with delight.


Thursday, February 20, 2014

DIY Queen Elsa's Costume

Disney's latest production, Frozen, is an instant hit worldwide.  It is said to be the most successful production ever.  My girls and I like it a lot too.  So it is no surprise that the girls requested for the Elsa and Anna's costume.   So, the ever obliging mummy put her head together to come out with the costume for them.
The Elsa's costume was put on hold for some time as I was busy with the Chinese new year preparation. Only after the CNY is over that I found time to sew it.  Some modifications were made as the original Elsa's costume has an off shoulder top, which is quite difficult and uncomfortable for children to wear.  Also, the front slit of the dress is too high and sexy to my liking.  
Once completed, the girls just can't wait to try it on.  They were delighted with the long train and I must say that the dress itself is beautiful.  I wish I can capture the glitter of the top and the train in the pictures.
Let it go....
Let it go........


Queen Elsa of Frozen


Wednesday, February 19, 2014

Gooey Paints Fun

Children is a constant test to a mother's creativity.  Children have abundant energy and they become bored of their existing toys or activities very fast.  Thus, a mother always need to find ways to keep the children entertained.  After all, happy children = happy mother and vice versa.

The latest activity that I have come out with is gooey painting.  It is something different from the usual coloring using color pencils or crayons.  My children find it fun to try on something new.  Besides, it also help children to develop their fingers' flexibility and control when they squeeze the paints out of the bottles.  However, do bear in mind that they are children.  A little spillage here and there is expected.


Here is how it is done :


Materials :

Gooey paints, various colors (for gooey paints recipe, please click here)
Glitter powder (optional)
Drawing block (for method 1)
Baking pan (for method 2)


Method 1:

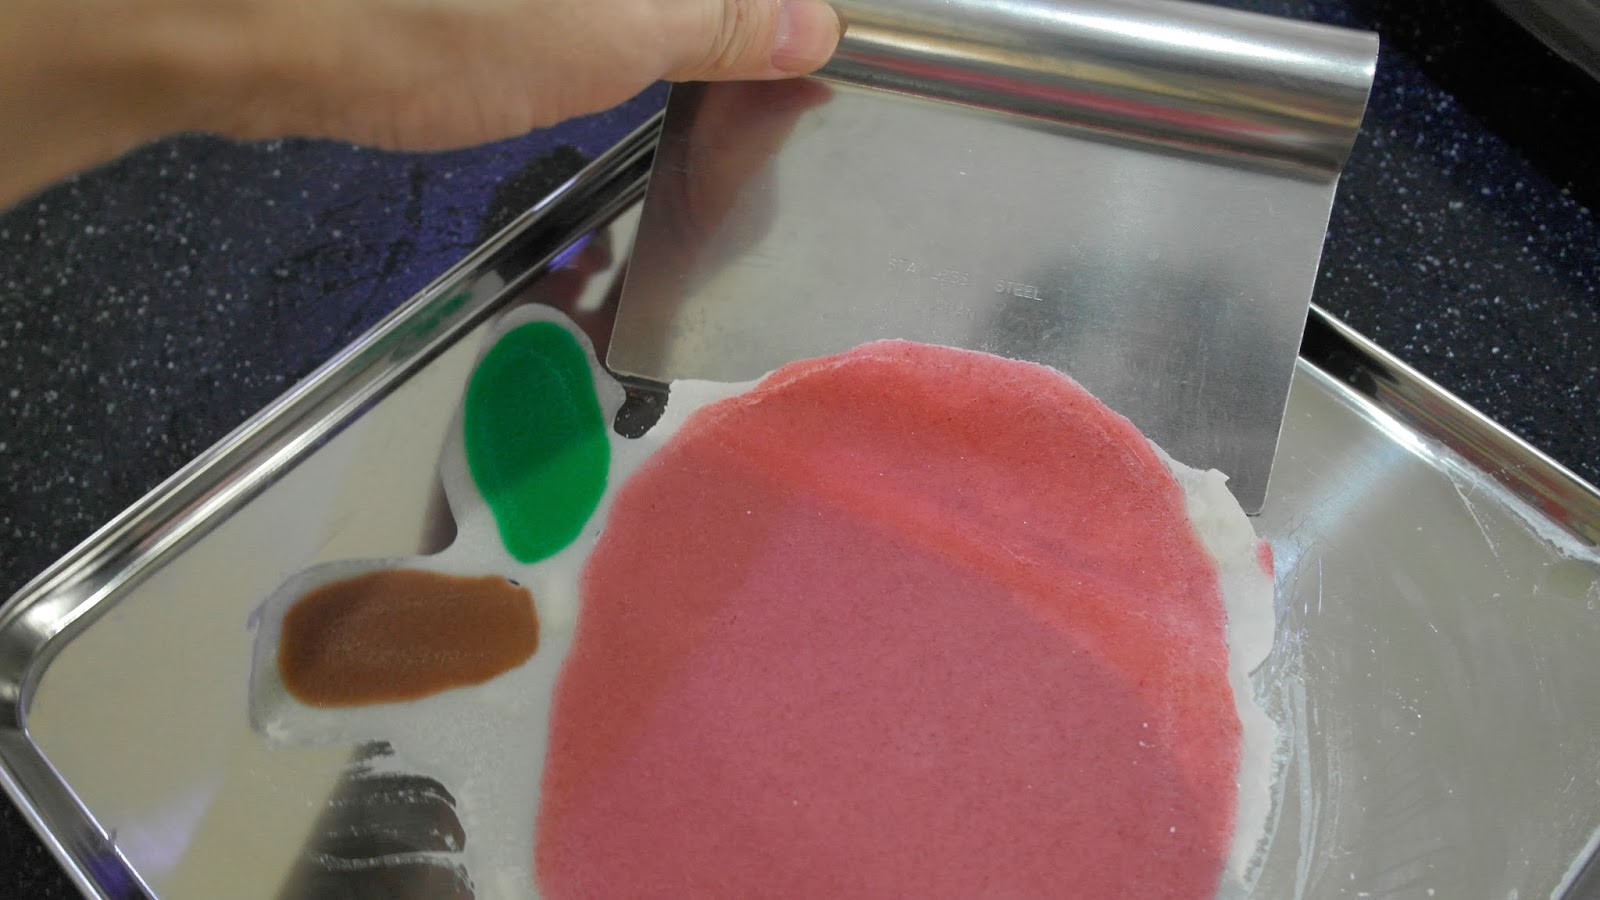
1)  Squeeze the white (or any color of your choice) gooey paint onto a baking pan, outlining the picture of your choice.


2) Dry the baking pan in 130 deg C preheated oven for 1 - 2  minutes.

3) Let your child squeeze the gooey paints onto the picture on the baking pan.


5) Once the painting is done, dry the baking pan in 130 deg C preheated oven for 2 minutes or till the surface of the paints has lose its glossiness.


6) Gently scrap the picture off the baking pan and place it on a piece of drawing block / art book.


7) Leave the picture to air dried completely.


Step 5 - 7 are optional if you do not wish to keep the picture.  Just wash off the paints with water and you are good to go for another piece of painting.


Method 2  :


1) Add some glitter powder to a bottle of grey colored gooey paint.
    (Skip this if you are uncomfortable with using non edible ingredients).

2) Squeeze the mixture from (1) to a drawing block, outlining the picture of your choice.


3) Dry the outlined picture in 130deg C preheated oven for 2 - 3 minutes.

4) Let your child squeeze the gooey paints onto the picture.


5) Once the painting is done, dry the picture in 130 deg C preheated oven for 3 minutes or till the surface of the paints has lose its glossiness.

The painting may take much longer to be completely dried.  However, it is not advisable to dry the painting in the oven for longer than 3 minutes as speed drying may cause the paints to crack.  The aim is to let the painting to be dried just enough to prevent the paint to leak / spill over.  The painting can be left to dried naturally thereafter.

Once the painting is completely dried, have your children paste them to their art book and decorate it with stickers or ribbons.


Tuesday, February 18, 2014

Gooey Paint

This is the recipe for gooey paint that is made of all edible ingredients :

1 cup     self raising flour
1 cup     salt
3/4 cup  corn starch
1 cup   hot water (not boiling)
1/2 cup  water
food colorings


Method :

1) Mix the salt, self raising flour and 1 cup of hot water together.  Stir till the salt dissolved.
2) Dissolve the corn starch in the remaining 1/2 cup water.
4) Add the starch solution to the salt and flour mixture, stirring constantly.
5) Strain the mixture to remove lumps.
6) Divide the mixture into several portions.
7) Add in food colorings as desired.
8) Store the paints in bottles.


More water can be added (preferably 1/4 cup at a time) to achieve your desired mixture consistency.  However, bear in mind that children may find it difficult to handle and control the paint if it is too dilute and flows too fast.  You do not really need a variety of the food colorings.  Remember that you can always mix the colors.

The paints do not dry out in closed containers.  However, if the paint is watery, some separation of the colors may occur if stored for some time. If this happens, simply give the bottle a shake or two before use.  The salt in the paint acts as preservative to prevent the growth of mold in the paint.

The paints can be stored for weeks.