Children is a constant test to a mother's creativity. Children have abundant energy and they become bored of their existing toys or activities very fast. Thus, a mother always need to find ways to keep the children entertained. After all, happy children = happy mother and vice versa.
The latest activity that I have come out with is gooey painting. It is something different from the usual coloring using color pencils or crayons. My children find it fun to try on something new. Besides, it also help children to develop their fingers' flexibility and control when they squeeze the paints out of the bottles. However, do bear in mind that they are children. A little spillage here and there is expected.
Here is how it is done :
Materials :
Gooey paints, various colors (for gooey paints recipe, please click
here)
Glitter powder (optional)
Drawing block (for method 1)
Baking pan (for method 2)
Method 1:
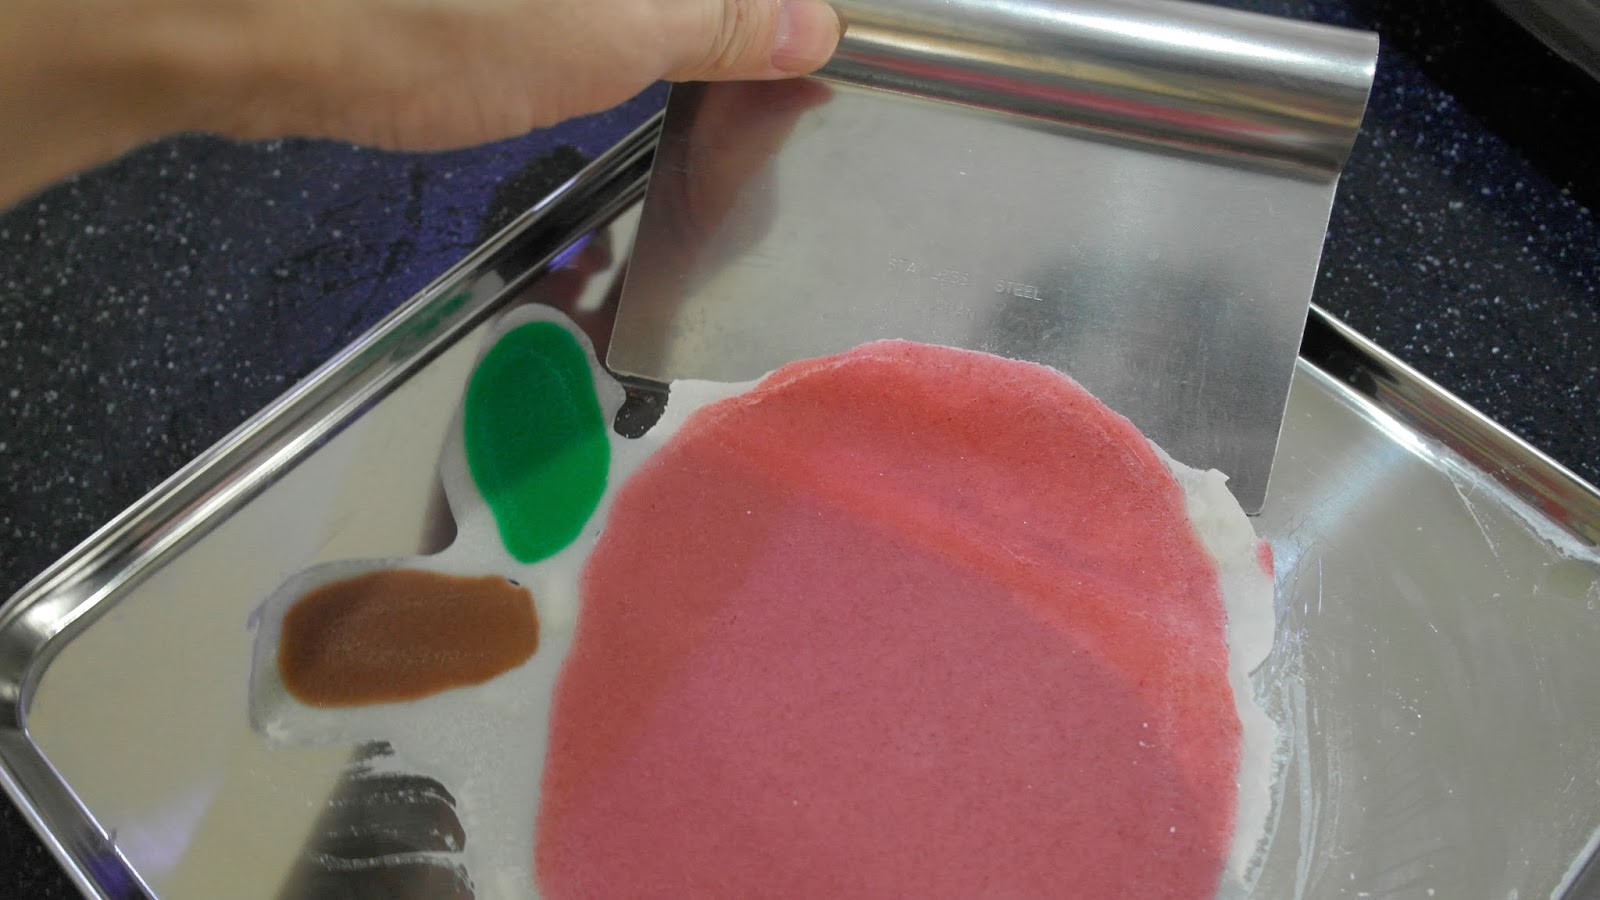
1) Squeeze the white (or any color of your choice) gooey paint onto a baking pan, outlining the picture of your choice.
2) Dry the baking pan in 130 deg C preheated oven for 1 - 2 minutes.
3) Let your child squeeze the gooey paints onto the picture on the baking pan.
5) Once the painting is done, dry the baking pan in 130 deg C preheated oven for 2 minutes or till the surface of the paints has lose its glossiness.
6) Gently scrap the picture off the baking pan and place it on a piece of drawing block / art book.
7) Leave the picture to air dried completely.
Step 5 - 7 are optional if you do not wish to keep the picture. Just wash off the paints with water and you are good to go for another piece of painting.
Method 2 :
1) Add some glitter powder to a bottle of grey colored gooey paint.
(Skip this if you are uncomfortable with using non edible ingredients).
2) Squeeze the mixture from (1) to a drawing block, outlining the picture of your choice.
3) Dry the outlined picture in 130deg C preheated oven for 2 - 3 minutes.
4) Let your child squeeze the gooey paints onto the picture.
5) Once the painting is done, dry the picture in 130 deg C preheated oven for 3 minutes or till the surface of the paints has lose its glossiness.
The painting may take much longer to be completely dried. However, it is not advisable to dry the painting in the oven for longer than 3 minutes as speed drying may cause the paints to crack. The aim is to let the painting to be dried just enough to prevent the paint to leak / spill over. The painting can be left to dried naturally thereafter.
Once the painting is completely dried, have your children paste them to their art book and decorate it with stickers or ribbons.